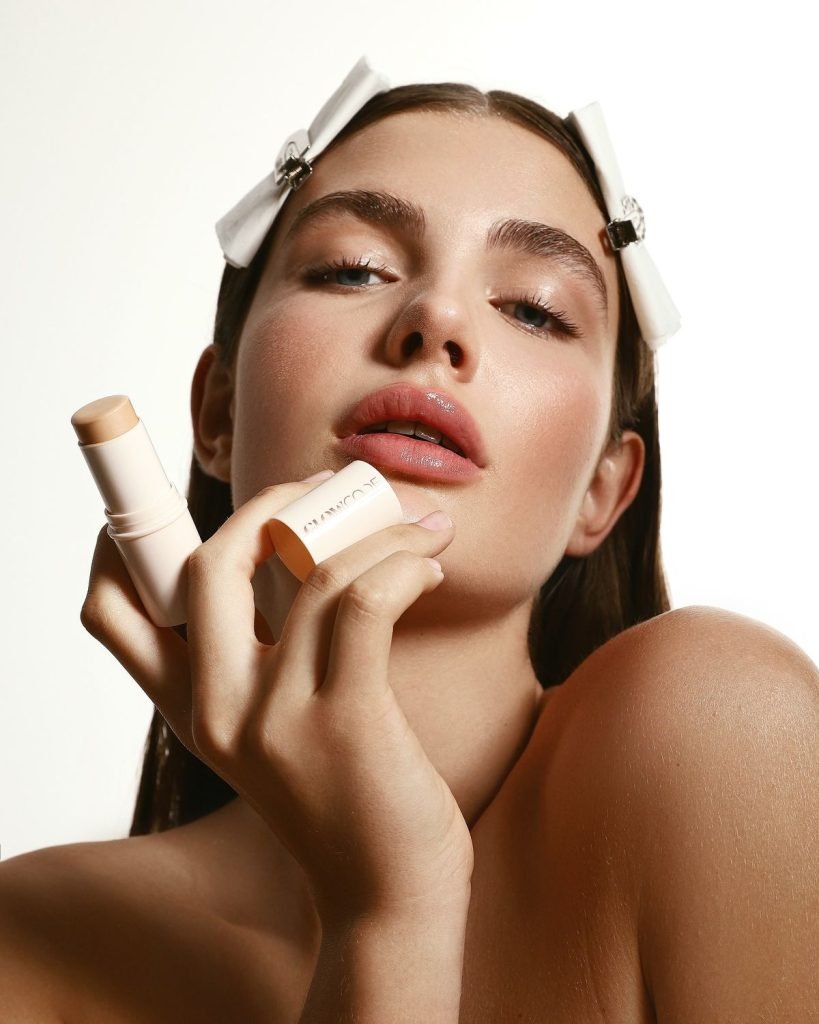
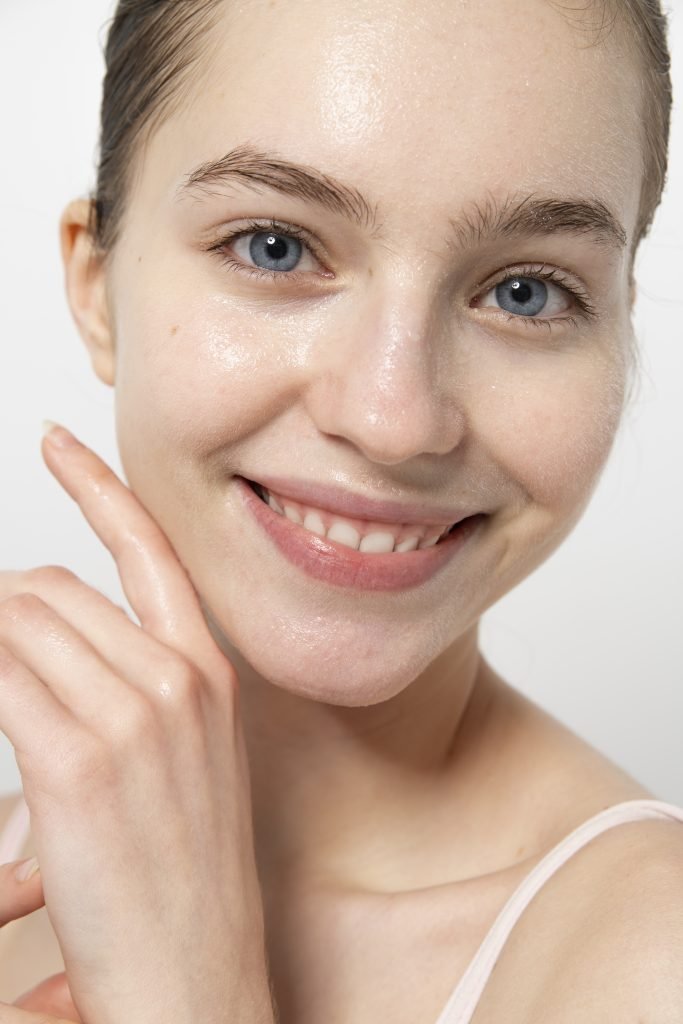
In Part One, we explored the essentials of skincare and prepping your canvas for makeup. Now, in Part Two, we’re diving deeper into foundation—how to prep different skin types, tackle specific concerns like acne or redness, and ensure your makeup lasts all day, no matter the weather. Whether your skin is oily, dry, or combination, these expert tips will help you achieve a flawless, smooth, and long-lasting finish every time. By M Chanshimla
Addressing Skin Types and Concerns
How do you prepare different skin types (oily, dry, combination) before applying makeup, particularly foundation?
Prep is 80% of the game, I swear!
* Oily Skin: It is all about oil control and mattifying! I usually start with a gentle cleanser, followed by a toner (sometimes a mattifying one). A lightweight, oil-free moisturizer is crucial, even for oily skin, to prevent it from overcompensating and producing more oil. Then, focus is on the T-zone, a mattifying or pore-filling primer is a must in that zone.
* Dry Skin: Hydration, hydration, hydration! I cleanse gently, then use a hydrating toner or essence. A rich, nourishing moisturizer is essential, and sometimes even a facial oil or a hydrating serum underneath. A hydrating or illuminating primer will plump up the skin and create a smooth canvas without emphasizing dry patches.
* Combination Skin: This is a mix and match! I often use a hydrating moisturizer on the drier areas (cheeks) and a lighter, potentially oil-controlling one on the oilier areas (T-zone). Then, I might spot-prime with a mattifying primer where needed and a hydrating primer elsewhere. It is about targeting specific needs.
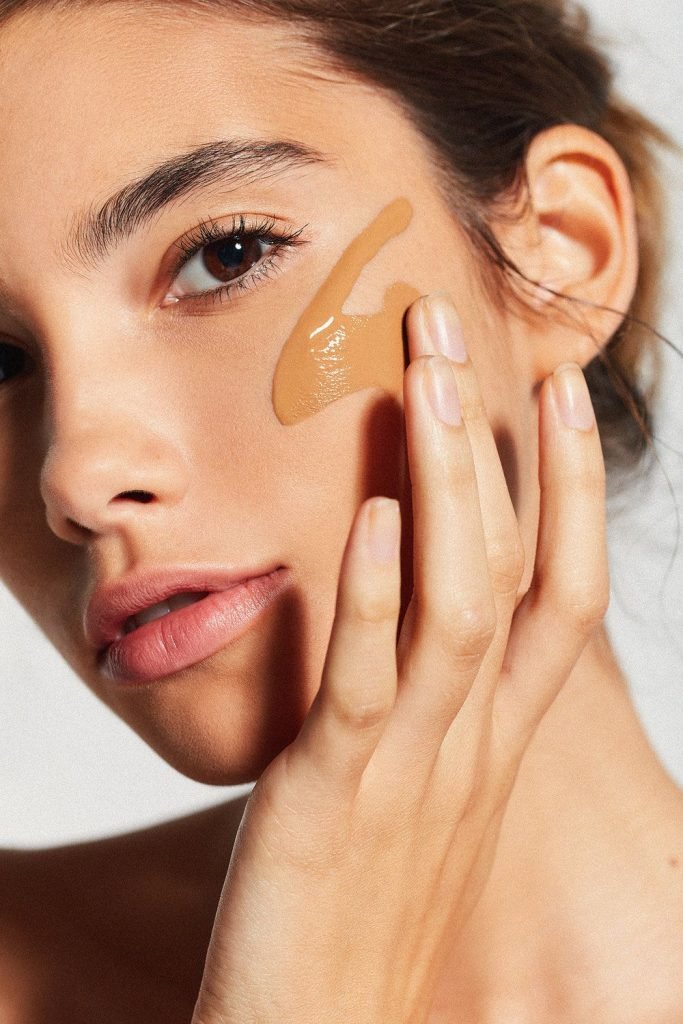
What steps do you take to ensure foundation does not settle into fine lines or pores?
This is a common struggle, but totally fixable!
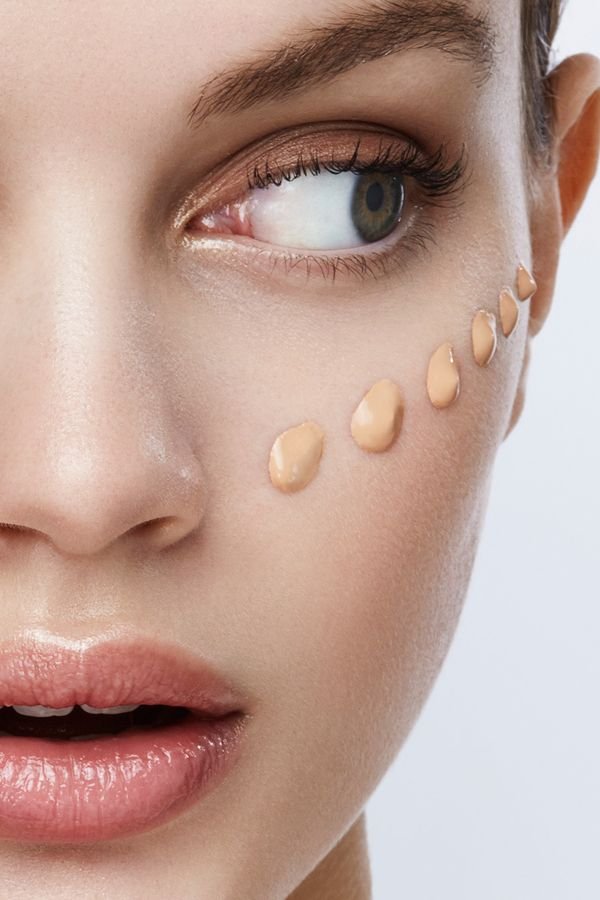
* Less is more: Seriously, apply thin layers. Too much product will just gather in those areas.
* Primer Power: Use a pore-filling or blurring primer specifically on areas with large pores or fine lines. These primers create a smoother surface for the foundation to sit on.
* Press, do not rub: When applying foundation, especially around the eyes or mouth, gently press or tap the product in with a damp sponge or finger. Rubbing can push product into lines.
* Set lightly: A very light dusting of translucent setting powder, especially in the T-zone and under the eyes, can lock everything in place without adding bulk. I would suggest to a fluffy brush and go light with the hand.
* Hydration: For fine lines, ensuring the skin is well-hydrated beforehand can make a huge difference in how the foundation sits.

How do you handle clients with specific skin concerns like acne or redness when using foundation?
– Sensitive topic, so always with a gentle touch and understanding!
* Acne:
* Gentle Prep: Avoid anything that could irritate active breakouts. Use gentle, non-comedogenic products.
* Colour Correcting: Green corrector for redness around active breakouts.
* Spot Concealing: Instead of piling on foundation, I would usually apply a medium-to-full coverage foundation first and then move on with a high-coverage concealer on the individual spots. Dab the concealer on, let it sit for a minute to get tacky, then gently tap the edges to blend.
* Sanitation: Always use clean brushes/sponges and avoid double-dipping directly onto the skin.
* Redness (like rosacea or general flushing):
* Soothing Prep: Use calming, anti-inflammatory skincare products before foundation.
* Green Corrector: This is your best friend! Apply a sheer layer over areas of redness before foundation.
* Build Coverage: Use a foundation with good coverage (medium to full) and build it up gradually over the red areas.
* Avoid Irritation: Be gentle during application; no harsh rubbing.
The key for both is to neutralize the discoloration and create an even canvas without looking heavy or cakey.
What techniques do you use to ensure makeup, including foundation, lasts throughout the day?
* Primer Power-Up: Choosing the right primer for the skin type and desired finish is crucial. A good primer creates a barrier and helps makeup grip the skin.
* Layering: Apply foundation in thin, buildable layers rather than one thick coat.
* Setting Powder: A light dusting of translucent setting powder (or a powder specifically for your skin type) is a game-changer. Focus on the T-zone and any areas prone to oiliness or creasing. “Baking” is an option for extreme longevity but use sparingly.
* Setting Spray: A good setting spray is like hairspray for your face! It melts all the powders and creams together and creates a film that locks everything in place. There are matte, dewy, and natural finish setting sprays, so pick one that matches your vibe!
* Product Choice: Long-wear foundations are formulated to last, so if longevity is a priority, start with a foundation designed for it.
How do you recommend clients touch up or maintain their foundation throughout the day?
Nobody wants a full redo mid-day, so quick fixes are key!
* Blotting Papers: For oily skin, these are a lifesaver. Gently press (do not rub!) them on oily areas to absorb excess shine without disturbing foundation.
* Powder Compact: A pressed powder compact is great for a quick touch-up. Use a fluffy brush or a powder puff and lightly press it into areas that need mattifying or a little refresh. Avoid swiping, which can move the foundation.
* Mini Beauty Blender/Sponge: If foundation has settled into lines or pores, a tiny, damp sponge can be used to gently tap and re-blend the product.
* Setting Spray (mini): A travel-size setting spray can refresh makeup and re-melt products for a fresh look.
The general rule is: blot, then lightly powder or re-blend.
How does weather or environment affect your foundation application and longevity?
Huge impact! You need to adapt your routine!
Hot & Humid (like Chennai!):
* Application: I lean heavily on mattifying primers, long-wear matte or natural finish foundations, and a good setting powder. I might apply lighter layers since sweat can break down makeup faster.
* Longevity: Setting spray is non-negotiable! I’ll recommend blotting papers and powder for touch-ups.
Cold & Dry:
* Application: Hydration is key! I’ll prep with richer moisturizers, hydrating primers, and opt for dewy or natural finish foundations. I might skip heavy powder altogether or just use a tiny bit.
* Longevity: Hydrating setting sprays can help keep skin from looking flaky or tight.
Windy:
* Application: Like the dry conditions, wind can be drying, so hydration is important.
* Longevity: A good setting spray will help prevent makeup from getting “blown” off or settling into dryness caused by wind.
Basically, you are constantly adjusting to what your skin and the environment need! It’s all about balancing that beautiful canvas.
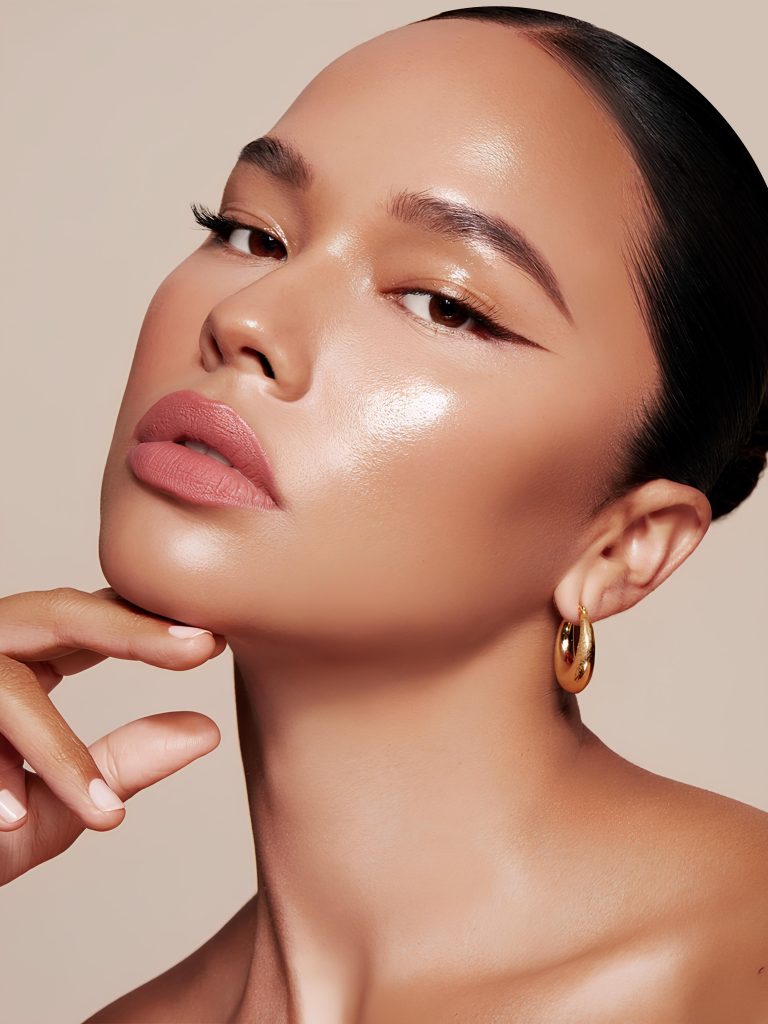
Foundation is more than just a base—it’s the bridge between your skincare and your makeup look. By tailoring your prep and application to your skin type, addressing specific concerns like redness or acne, and adjusting for the environment, you can achieve a flawless, long-lasting finish every time. Remember: less is often more, hydration is key, and the right tools and primers make all the difference. With these techniques, you’re not just applying makeup—you’re creating a smooth, radiant canvas that enhances your natural beauty and lasts from morning to night.
Hope this helps you achieve your most stunning foundation looks! Let me know if you have any more questions. You can follow our page on Insta gram to know more on makeup.