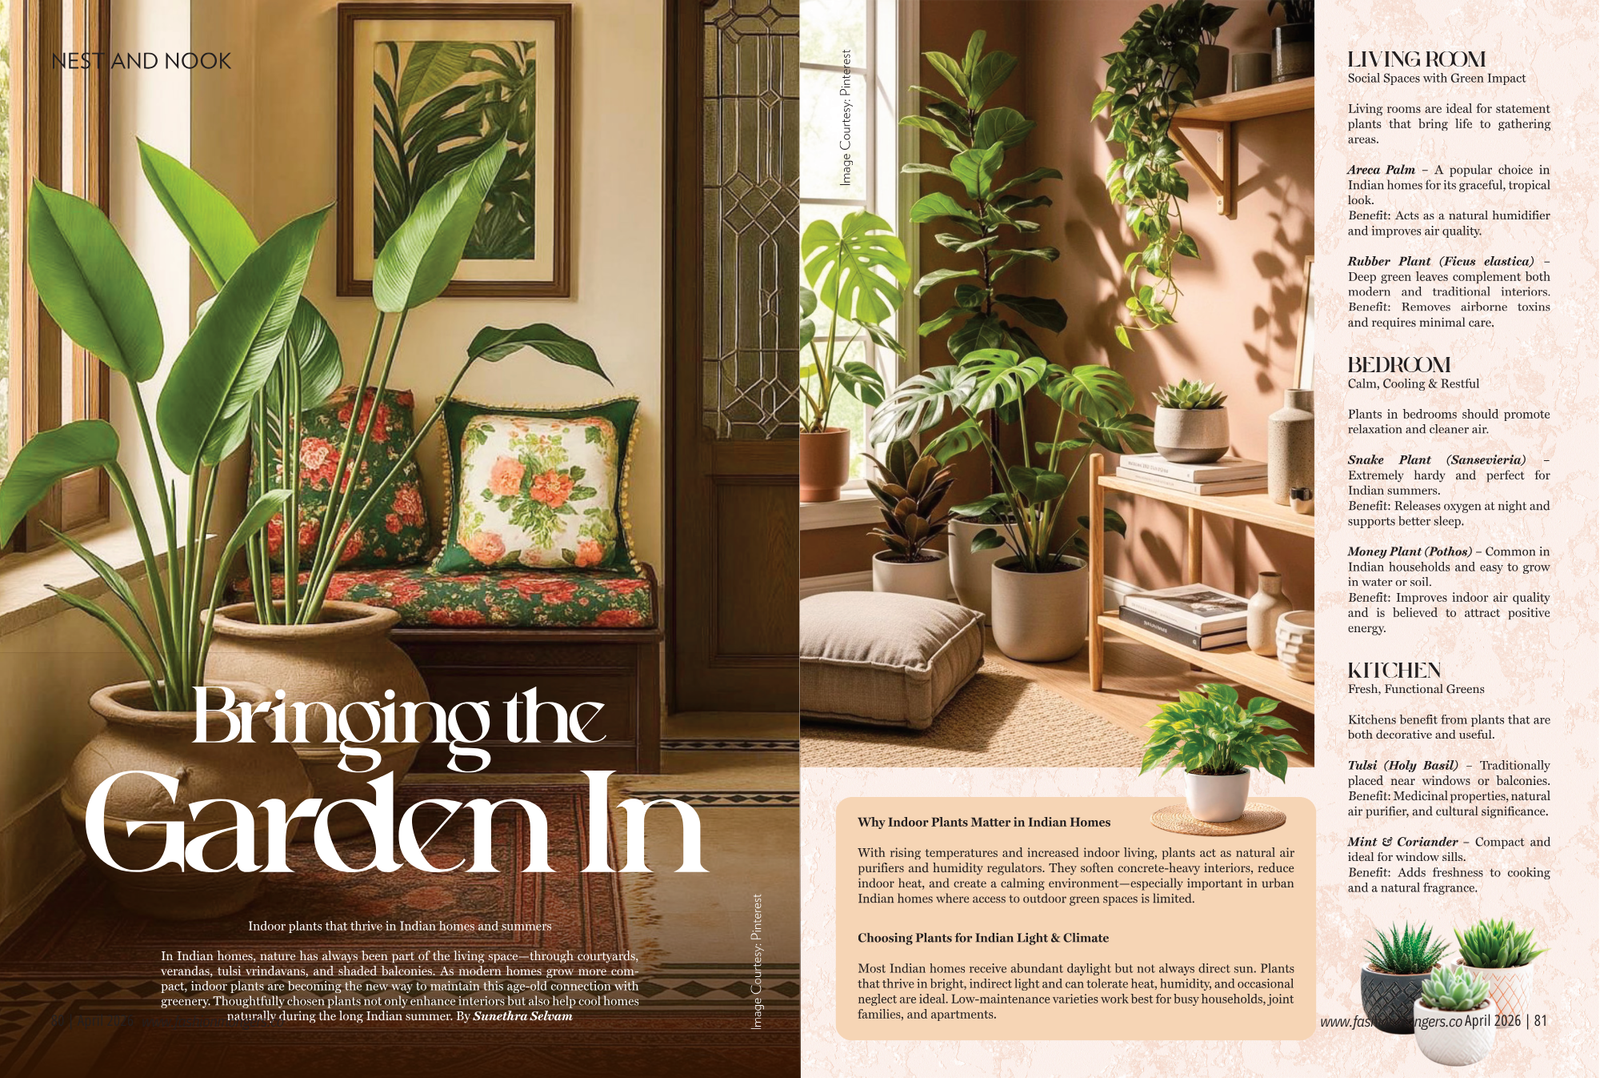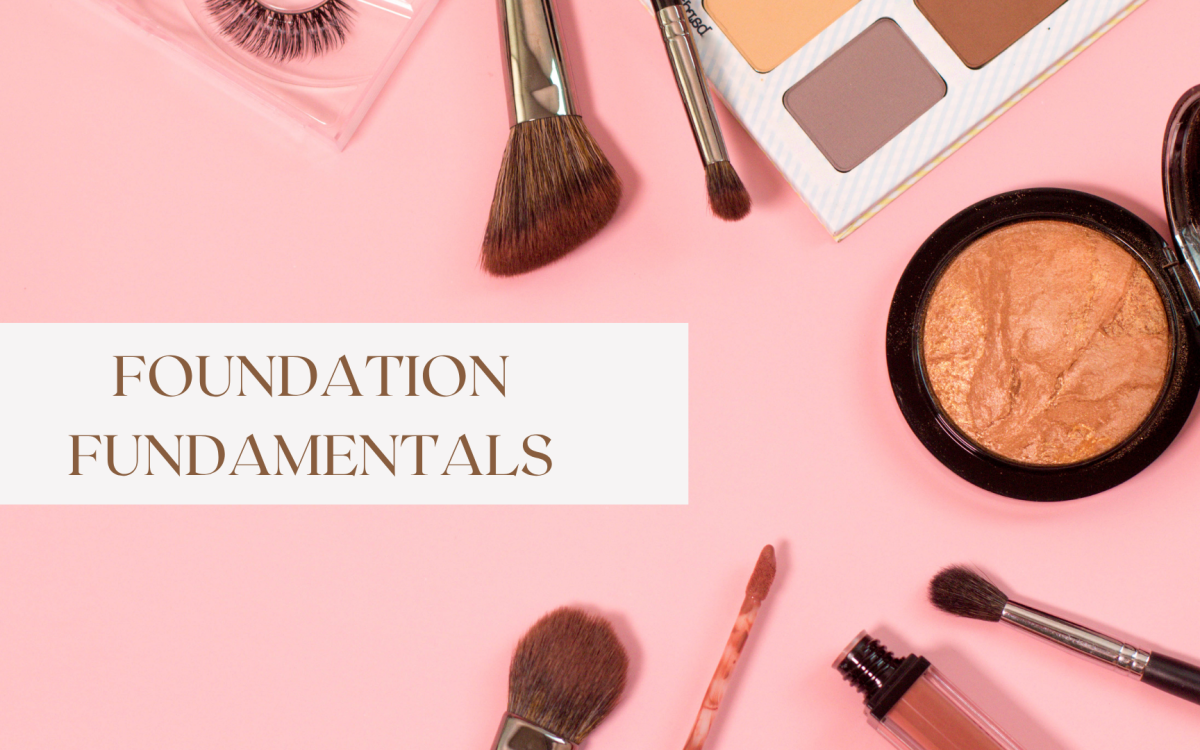
Foundation Selection and Application:
How do you determine the most suitable foundation shade for a client’s skin tone?
Finding the perfect foundation shade is like solving a fun little puzzle! First off, I always check the client’s neck and décolletage – that’s the most accurate spot, not the hand or arm (totally a common misconception!). We are looking for a shade that just melts into their skin, disappearing seamlessly. I usually swatch a few shades (2-3 that’s closet to their tone) right there and let them sit for a minute or two to see how they oxidize. Natural light is KEY here – artificial light can be super deceiving! I also consider their undertones – are they cool (pink, red, blueish), warm (yellow, golden, peachy), or neutral? Knowing that helps narrow it down big time.
What are the different shades of foundations available and how does one choose the right shade?
Foundation shades usually come in a spectrum from super fair to deep, with all sorts of undertones mixed in. We’ve got:
* Cool tones: Think porcelain, rosy, beige, cool ivory. These will have pink, red, or even blueish undertones.
* Warm tones: Golden beige, honey, caramel. They can be yellow, golden, or peachy.
* Neutral tones: True beige, natural tan. These have a balance of both warm and cool, or neither dominant.
To choose the right shade, it’s all about that matchy-matchy moment with the neck. If it blends in and you can’t really see a line, you’re golden! And do not forget to think about what the client wants – sometimes they prefer a slightly brighter look, and we can achieve that with strategic concealing and contouring rather than changing the main foundation shade.
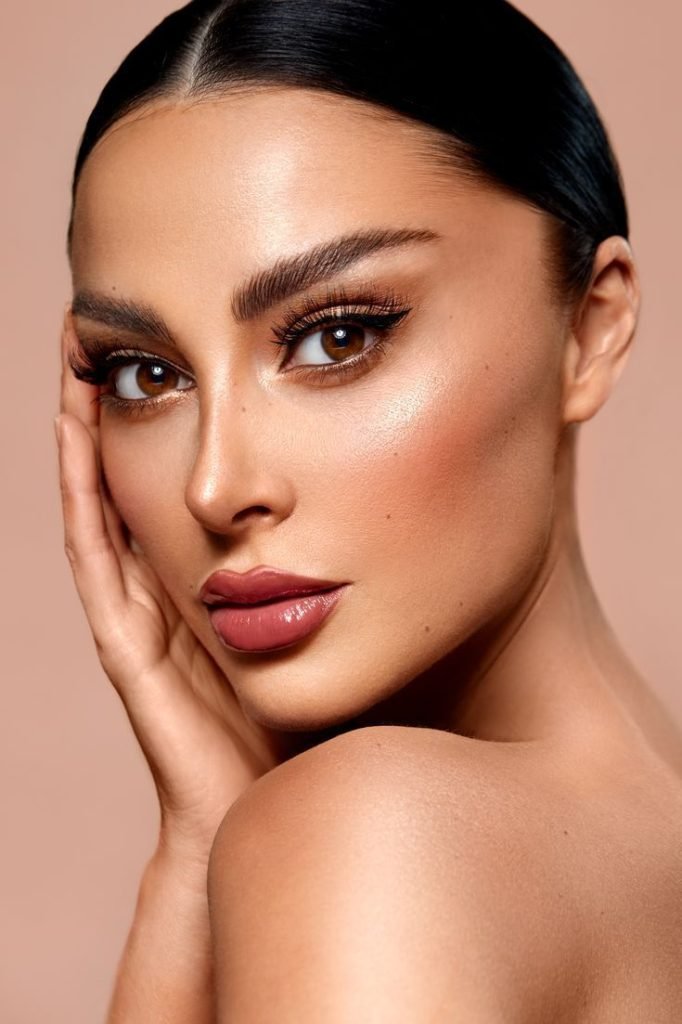
What are the most effective techniques for achieving a flawless foundation look?
For that dreamy, flawless finish, less is often more! I usually start with a small amount of product and build up coverage where needed.
* Prep is paramount! (Will share more on that later, on the instagram and in the upcoming series here , but seriously, this is the secret element).
* I usually prefer to dot the foundation on the face – especially on the forehead, the cheeks, chin, and on the nose.
* Then, using a dense foundation brush or dame beauty sponge (depending on the desired finish), I gently press and blend the product into the skin. No harsh rubbing! We want to melt it, not move it around.
* I always blend down into the neck and around the ears for a seamless transition. And do not forget around the hairline – nobody wants a foundation halo!
Can you explain the difference between a matte, dewy, and natural foundation finish?
This is where the magic really happens and you can totally customize the vibe!
* Matte: Think velvety, no shine whatsoever. This is amazing for oily skin types or when you want a super polished, long-wearing look. It can sometimes feel a bit “flat” if overdone, but when applied well, it is chic and sophisticated.
* Dewy: Hello, glow-up! This finish gives you that luminous, healthy, slightly wet-look skin. It’s fantastic for dry or mature skin, or anyone wanting that fresh, youthful radiance. It catches the light beautifully.
* Natural: This is the “your skin but better” finish. It is not too matte, not too dewy, just a beautiful, even complexion that still looks like skin. It is super versatile and generally suits most skin types.
What are your favourite foundation products and why?
Oh, this is like picking a favourite child! But if I must choose, some current favourites are:
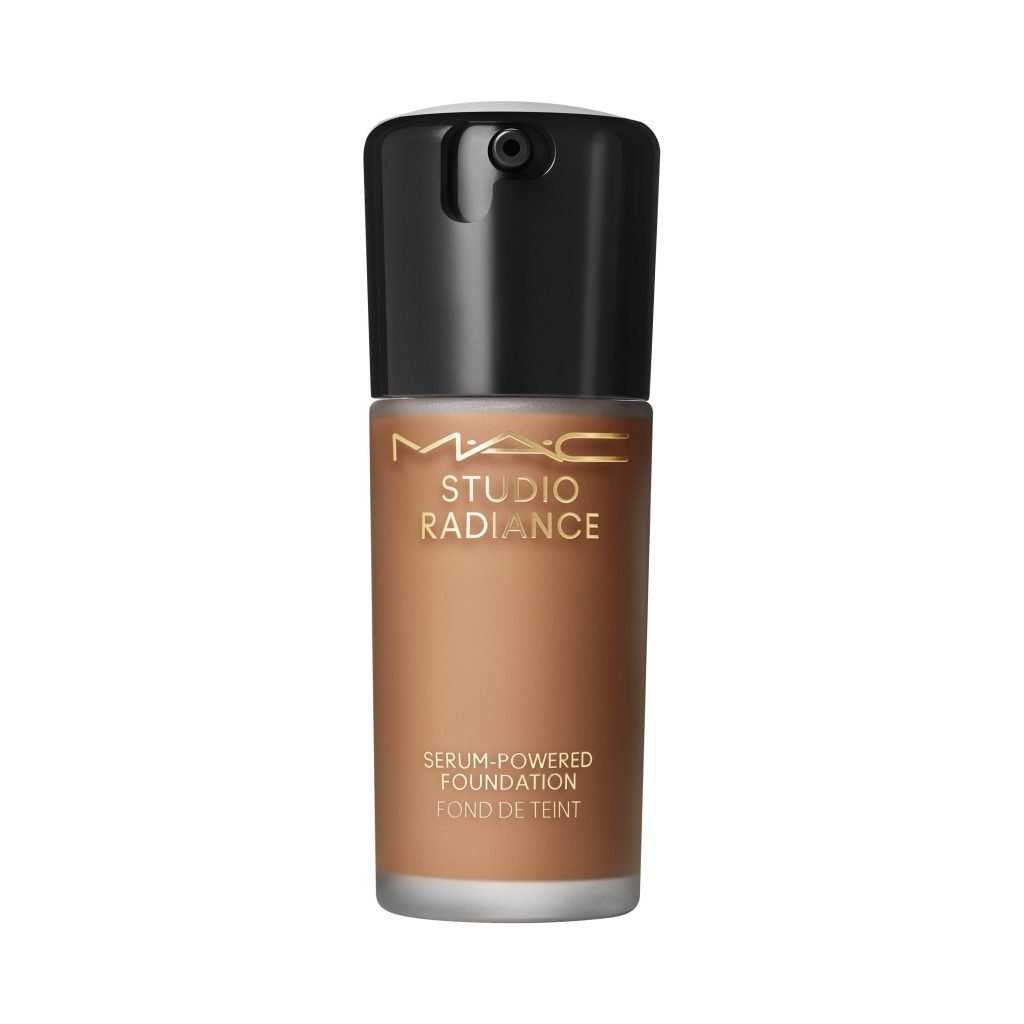
* MAC Studio Radiance Serum foundation sheer Glow Foundation: It is iconic for a reason! It gives a beautiful natural-to-medium coverage with a lovely, subtle radiance. It is super buildable and just makes skin look healthy.
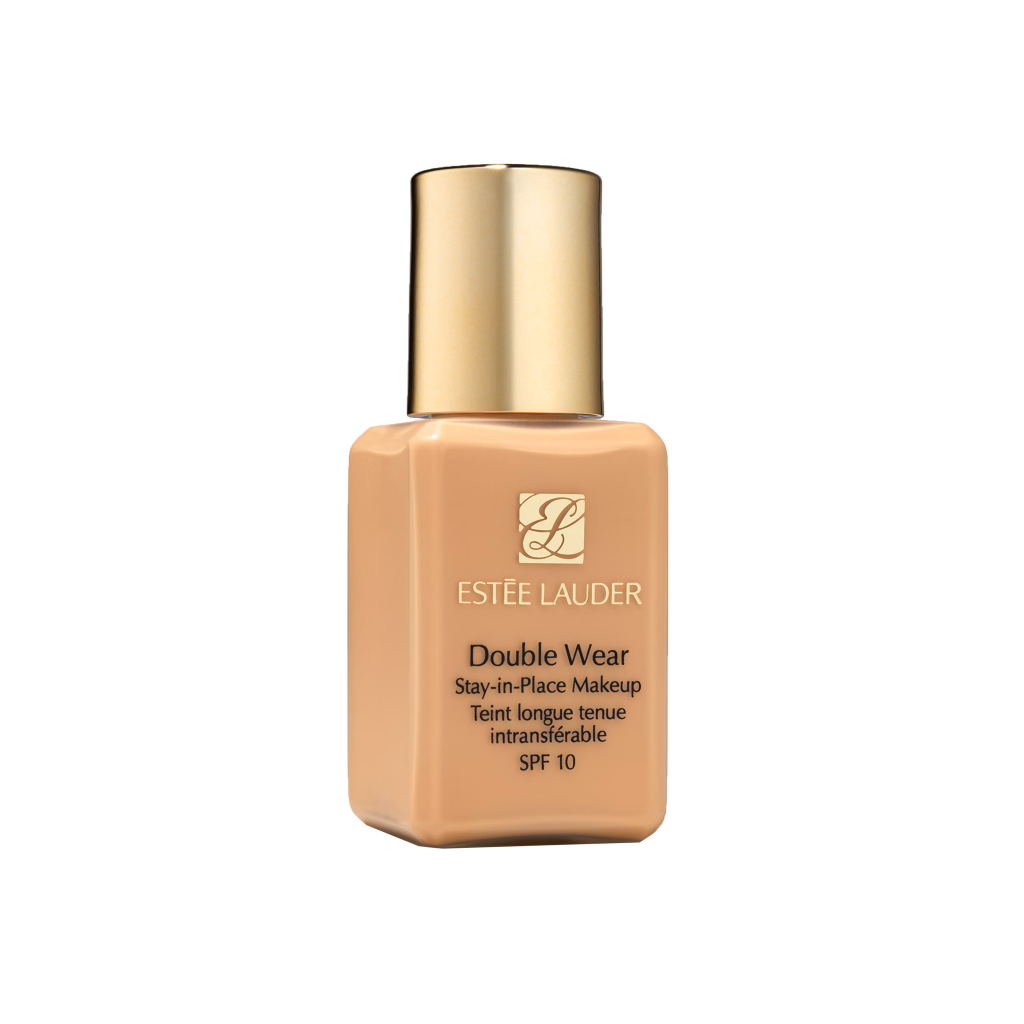
* Estée Lauder Double Wear Stay-in-Place Makeup: For those days when you need your makeup to literally not budge. It is full coverage, matte, and truly lasts through anything. A lifesaver for events!
* Mac Strobe Dewy Soin Tint: If you want that no-makeup makeup looks with a little extra glow, this is it. so lighter than a traditional foundation but gives sheer coverage and that dewy finish. I love these because they consistently deliver, work for a variety of skin types, and just make people feel amazing.
How do you handle uneven skin tone or texture when applying foundation?
This is where the art comes in!
* Uneven Skin Tone (like redness or hyperpigmentation): I usually start with colour correcting before foundation. A green corrector for redness, or a peach/orange corrector for hyperpigmentation. I apply a tiny amount only to the discoloured areas and tap it in gently. Then, I apply foundation as usual, building up coverage in those specific spots if needed. The goal is to neutralize the colour, not glob on a ton of product.
* Uneven Texture (like acne scarring or large pores): Priming is your best friend here! A pore-filling or blurring primer can work wonders to create a smoother canvas. When applying foundation, I use a stippling or tapping motion over textured areas rather than dragging, which can emphasize texture. Light layers are key – too much product can settle into and highlight texture.
What is the right type of brush to use?
It totally depends on the finish and coverage you’re going for!
* Flat-top brush: Amazing for medium to full coverage and a more polished finish. You can buff and stipple for a seamless look.
* Dense, flat foundation brush: Good for precise application and building coverage but can sometimes leave brush strokes if not blended well.
* Stippling brush (duo-fiber): Great for a sheerer, more natural finish. The two lengths of fibers allow for a light, airbrushed effect.
* Fluffy powder brush (for powder foundations): For mineral or powder foundations, a fluffy brush allows for an even, diffused application.

Is a blender better than a brush?
Neither is “better” – they just give different results!Beauty Blender (or similar sponge): I like to use it when I want to reduce the product on my skin. When used damp, it absorbs excess product, preventing ‘cakiness’ and seamlessly blending the foundation into the skin. It is fantastic for pressing product into the skin for a truly melted look. Please know that a beauty blender does absorb product.
* Brushes: Generally, offer more precise application and can give you higher coverage more quickly. They are great for buffing and can really work the product into the skin, especially for a super polished finish. Most often it is the personal preference along with the skill to achieve the desired outcome. Sometimes I even use both – a brush to apply, and a damp sponge to press and perfect!